ORIGINAL MITERSAWCLUB GRAPHICS
See the constraint.
Understand the decision.
These graphics explain geometry and setup. They are conceptual—not substitutes for a model’s manual, published cut chart, or authorized product photography.
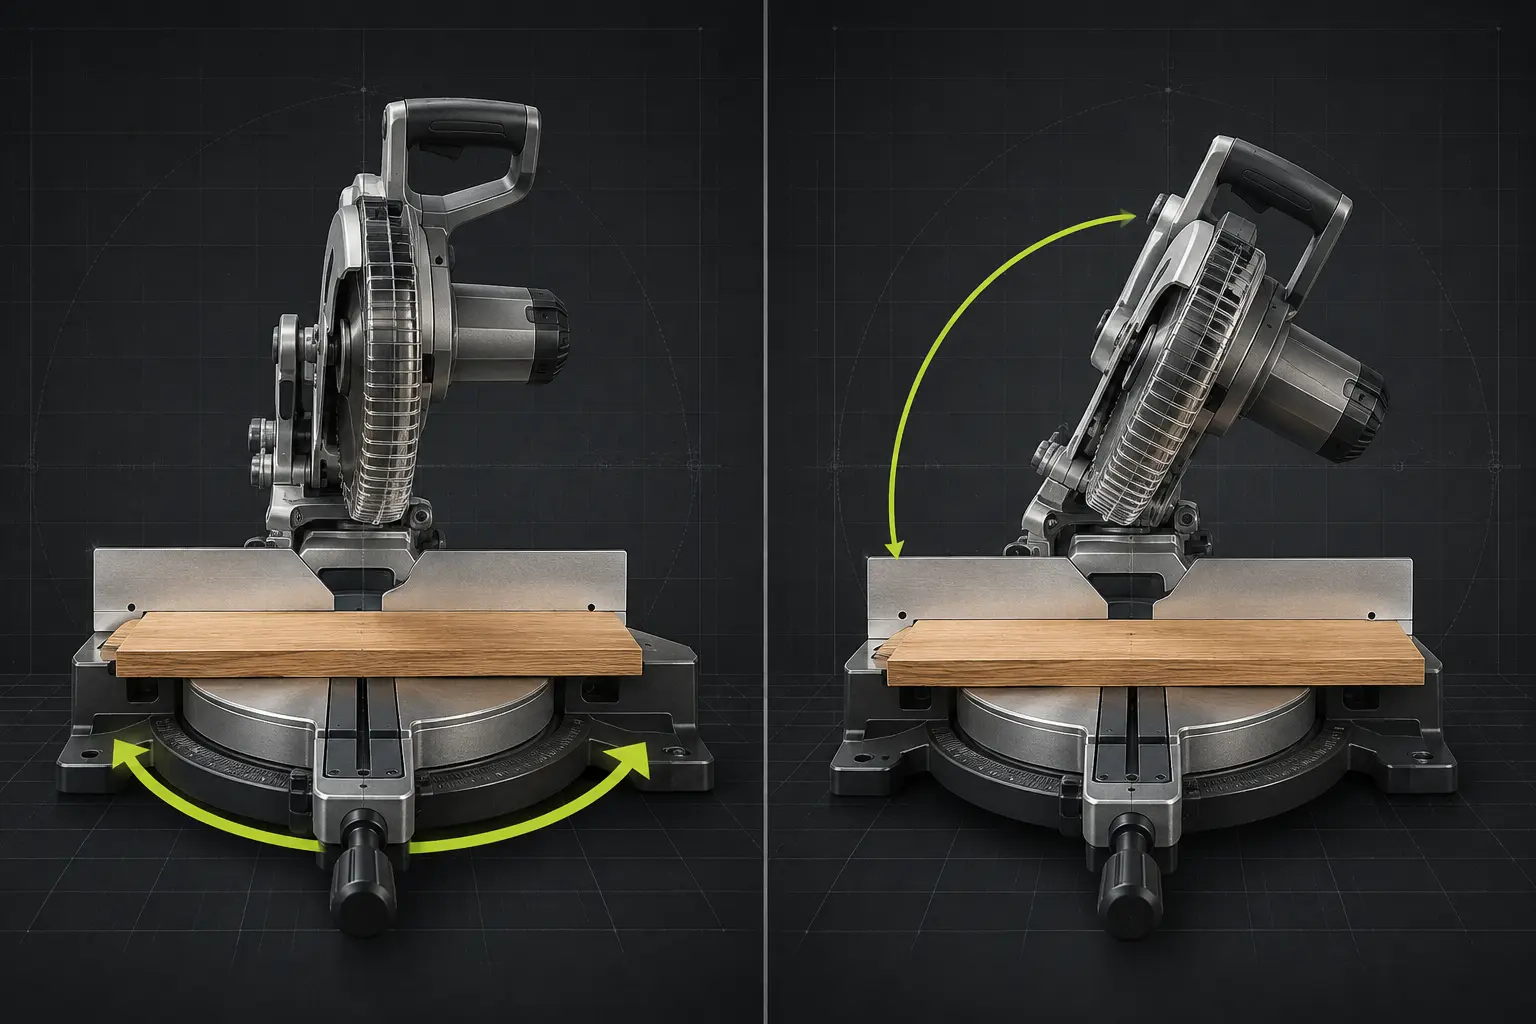
Miter versus bevel
Miter rotates the table. Bevel tilts the saw head.
Conceptual instructional graphic · verify the exact saw manual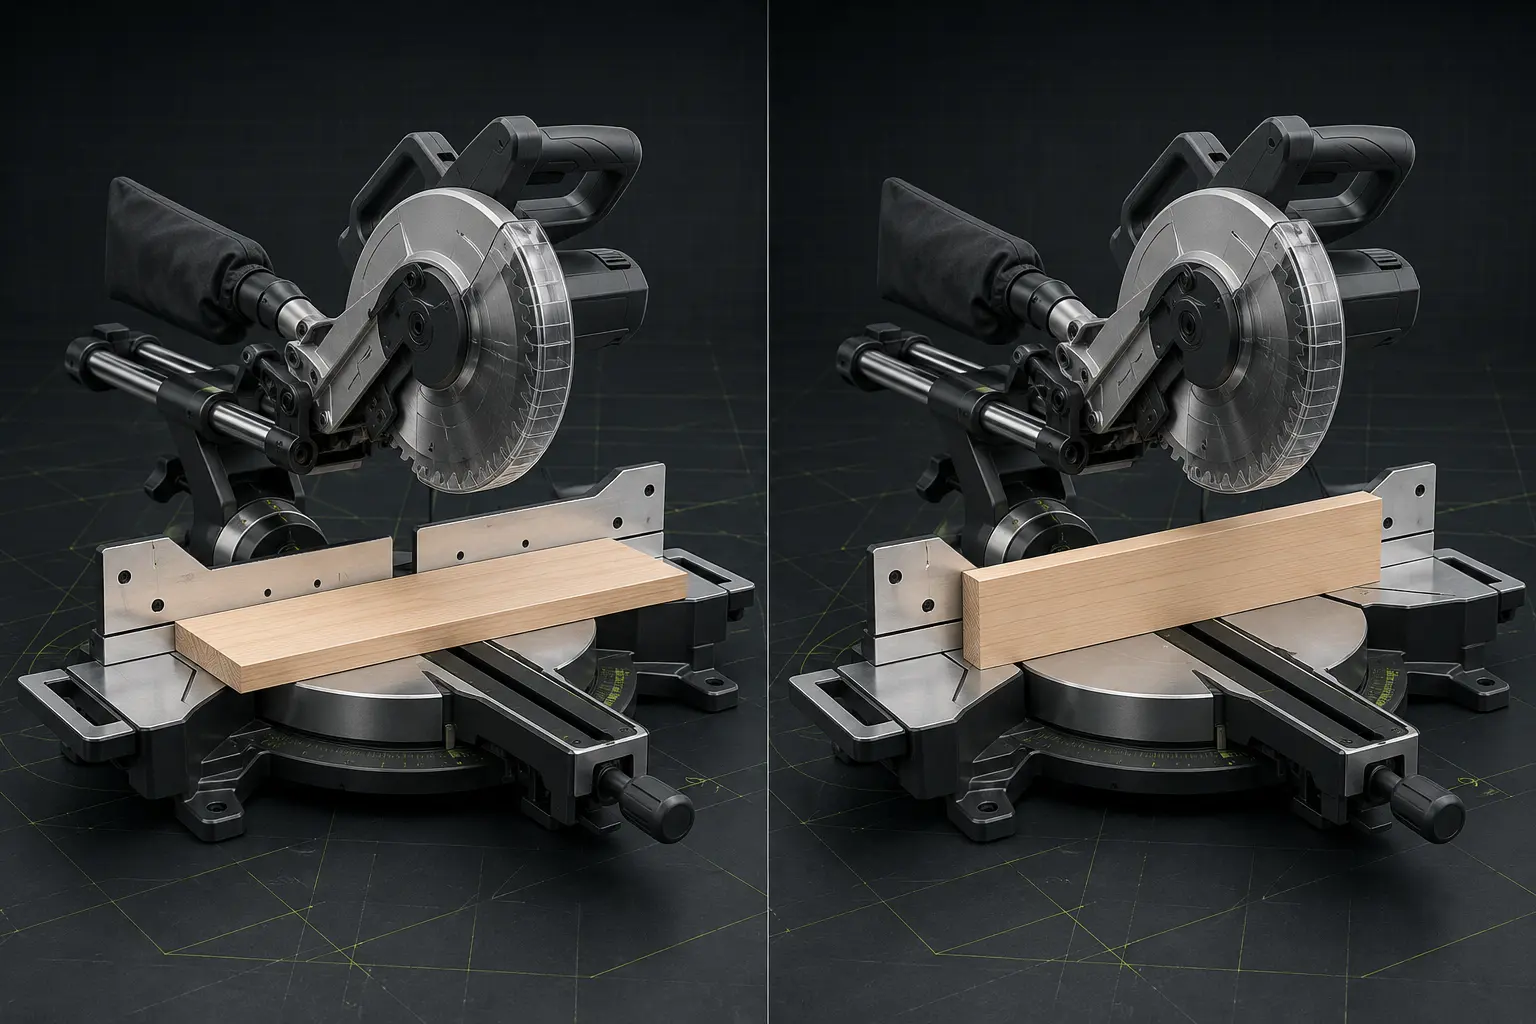
Flat versus standing
Orientation swaps which stock dimension challenges width and height capacity.
Conceptual instructional graphic · verify the exact saw manual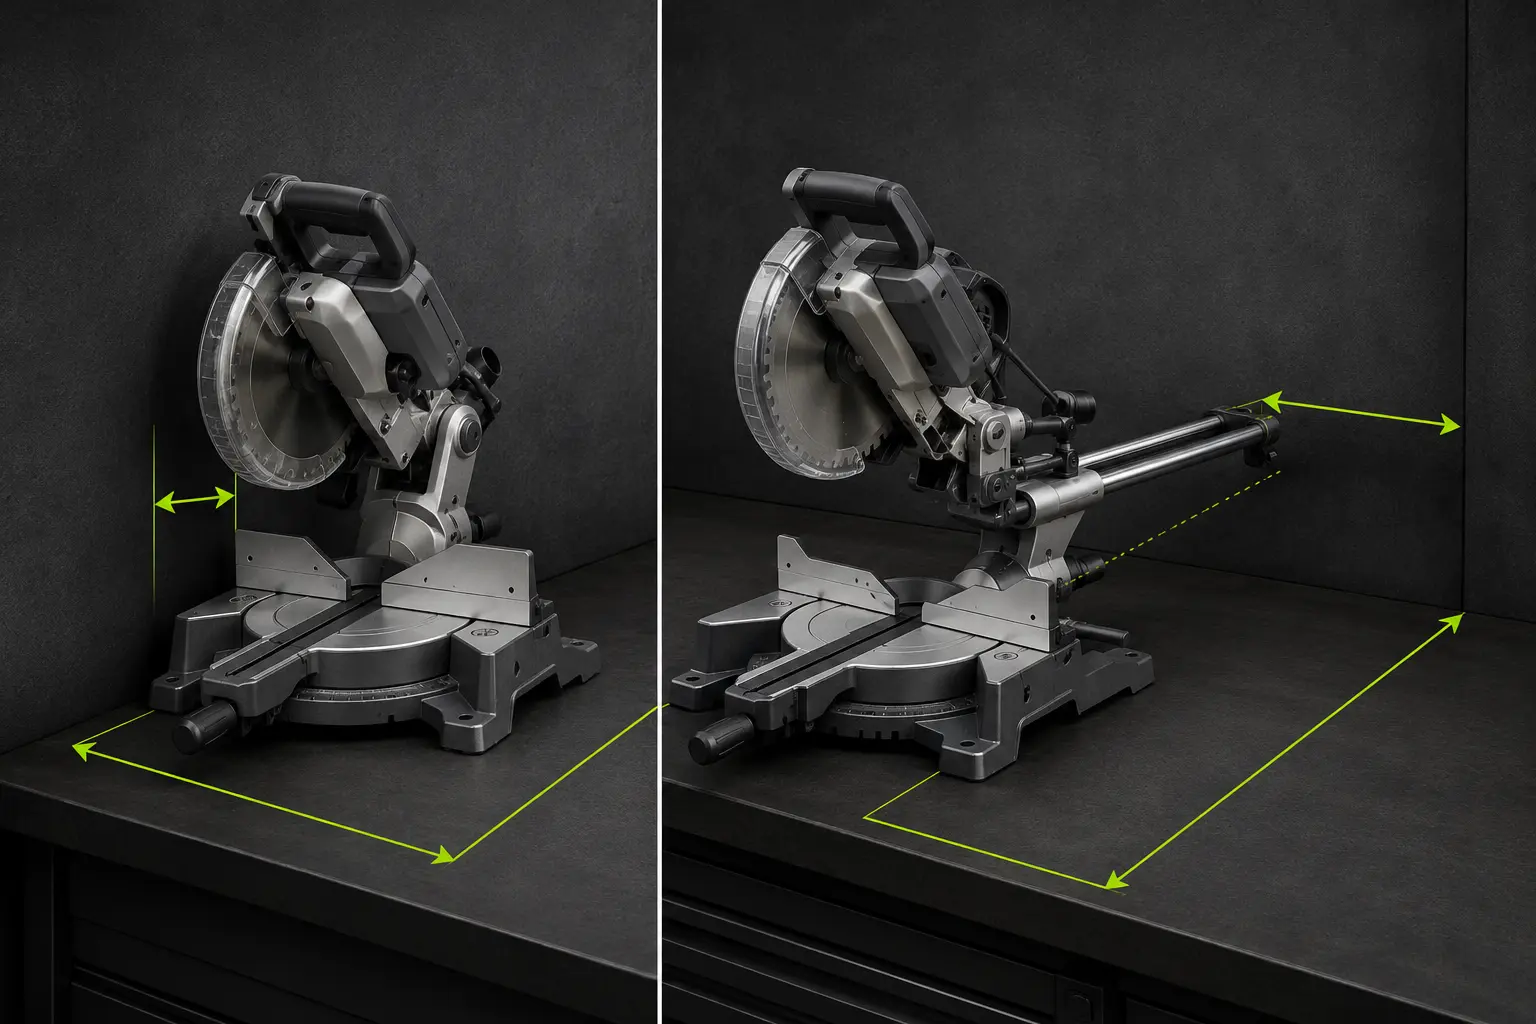
Sliding reach and clearance
More crosscut reach can demand more bench depth behind the saw.
Conceptual instructional graphic · verify the exact saw manual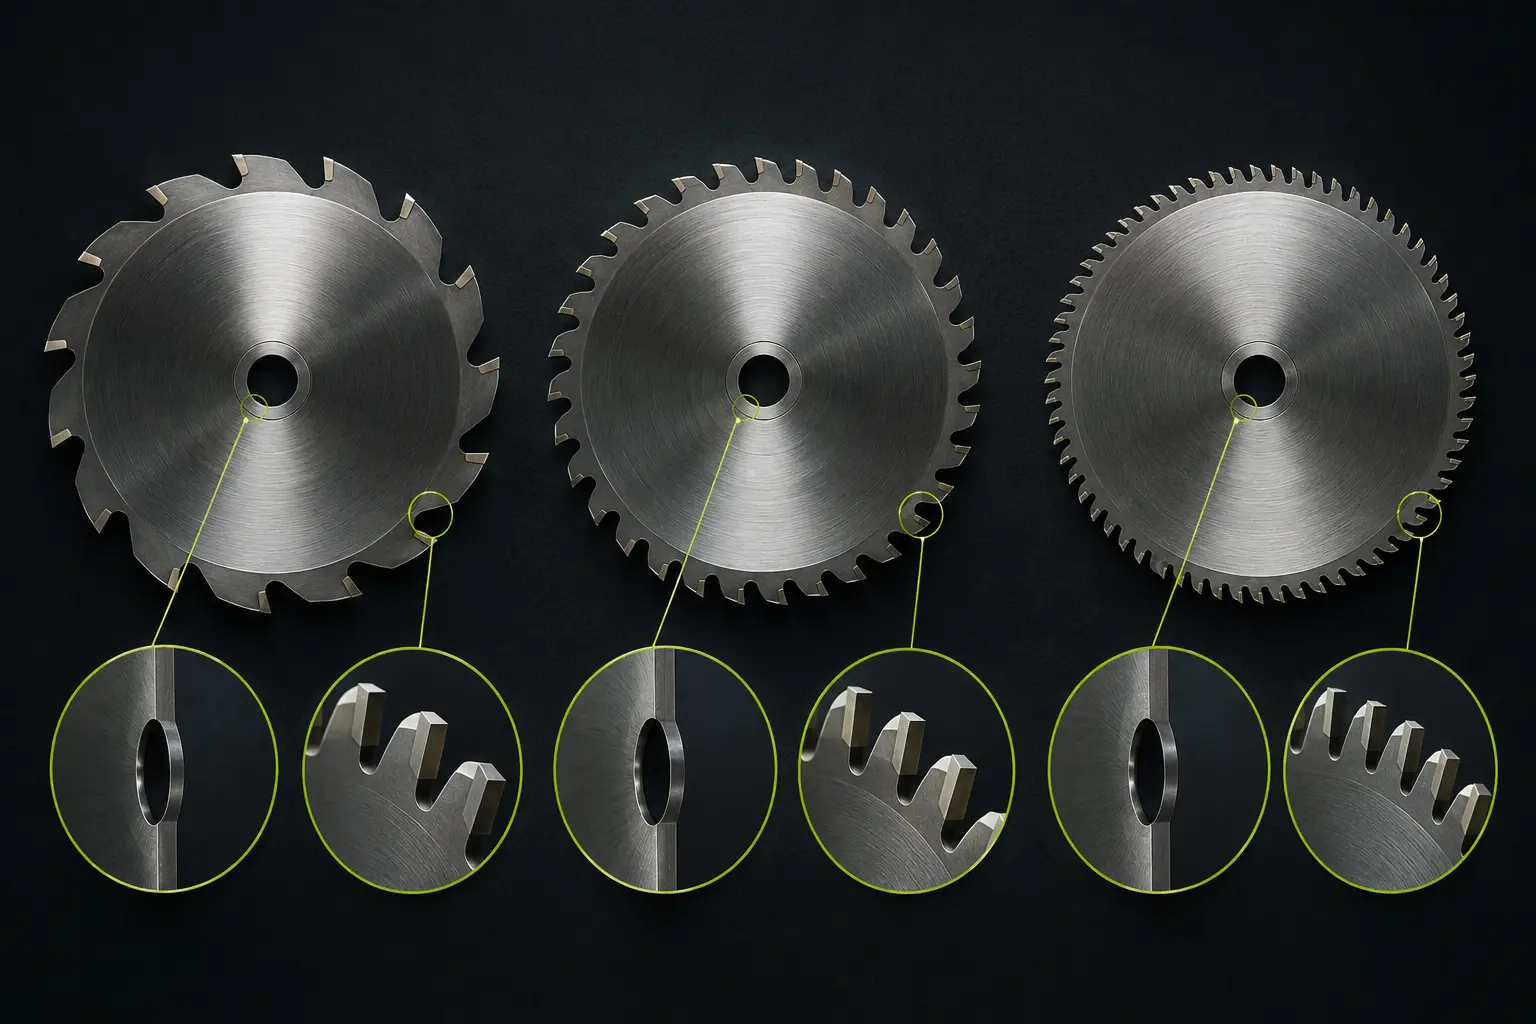
Blade anatomy
Diameter and arbor must fit first; tooth count, grind, kerf, and RPM finish the match.
Conceptual instructional graphic · verify the exact saw manual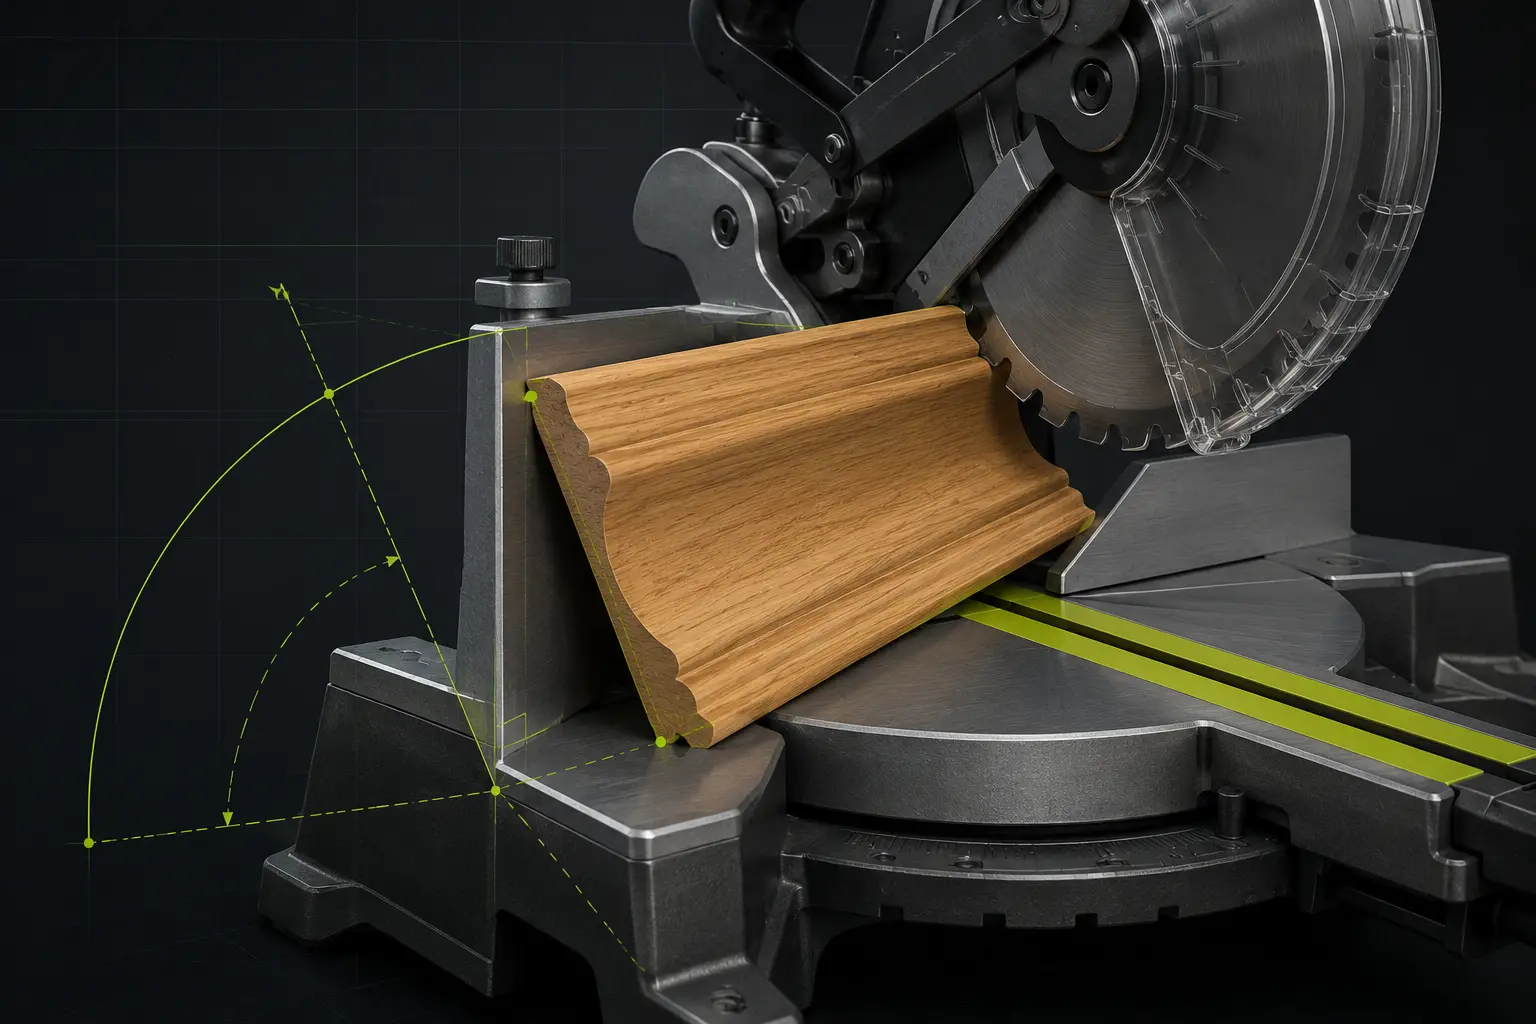
Nested crown orientation
The molding is held at its installed spring angle between table and fence.
Conceptual instructional graphic · verify the exact saw manual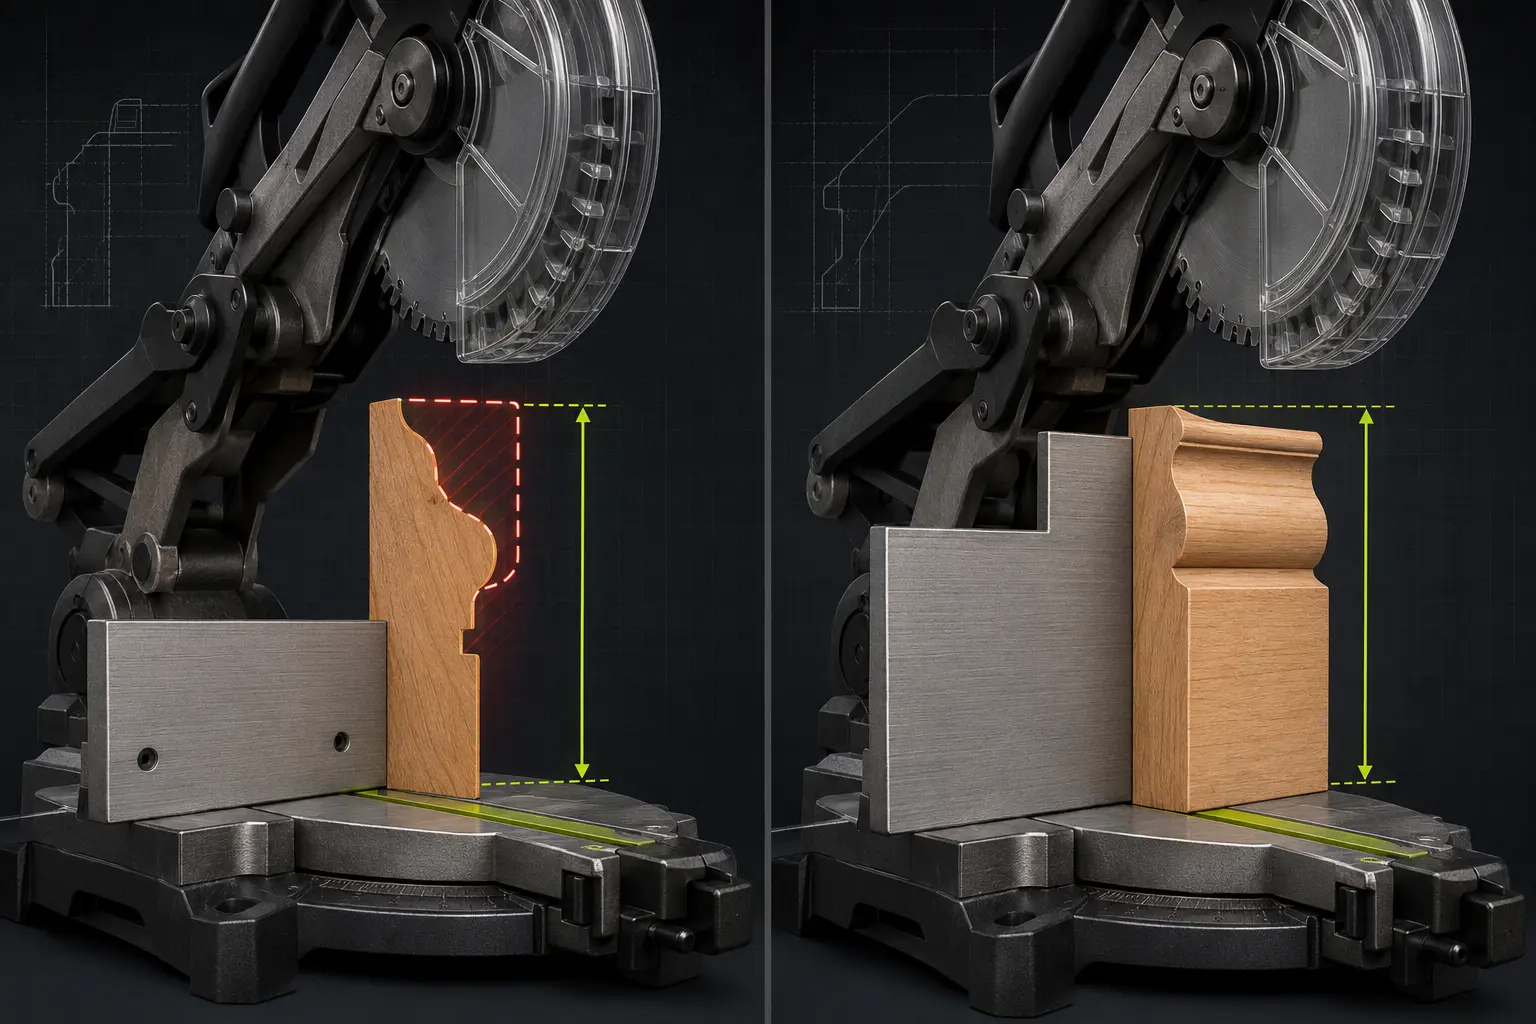
Vertical baseboard support
Published height is meaningless if the work cannot remain continuously supported.
Conceptual instructional graphic · verify the exact saw manual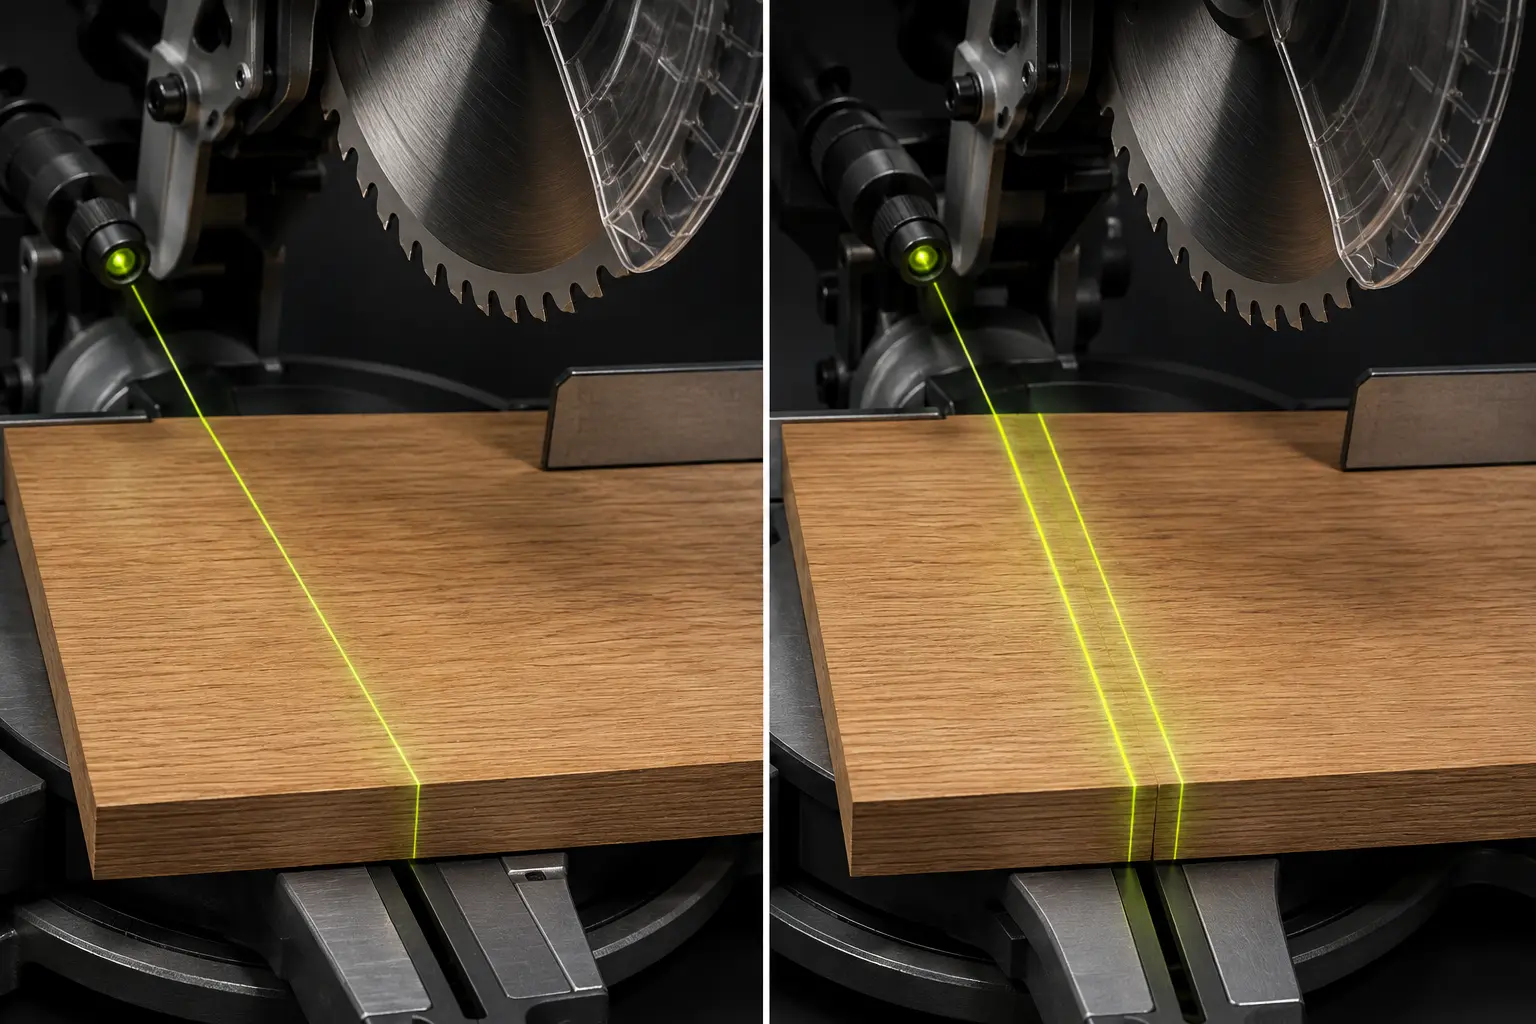
Laser versus shadow line
A laser indicates a line; a blade shadow can reveal the actual kerf edges.
Conceptual instructional graphic · verify the exact saw manual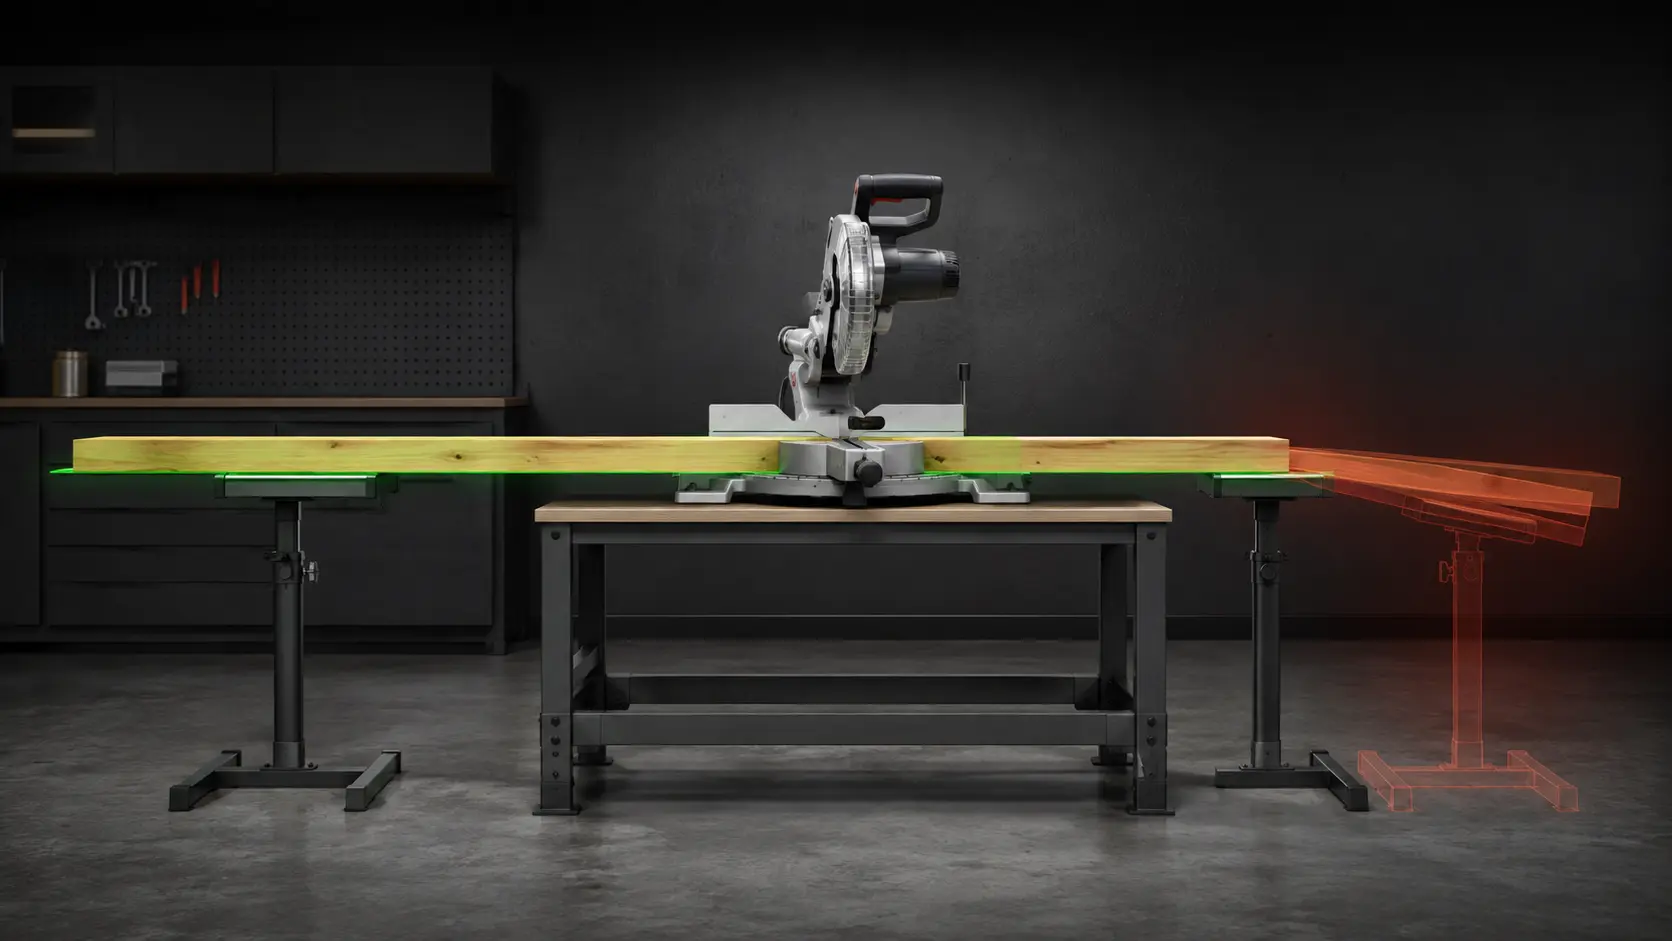
Long-stock support
Both stock ends must stay supported on the saw-table plane.
Conceptual instructional graphic · verify the exact saw manual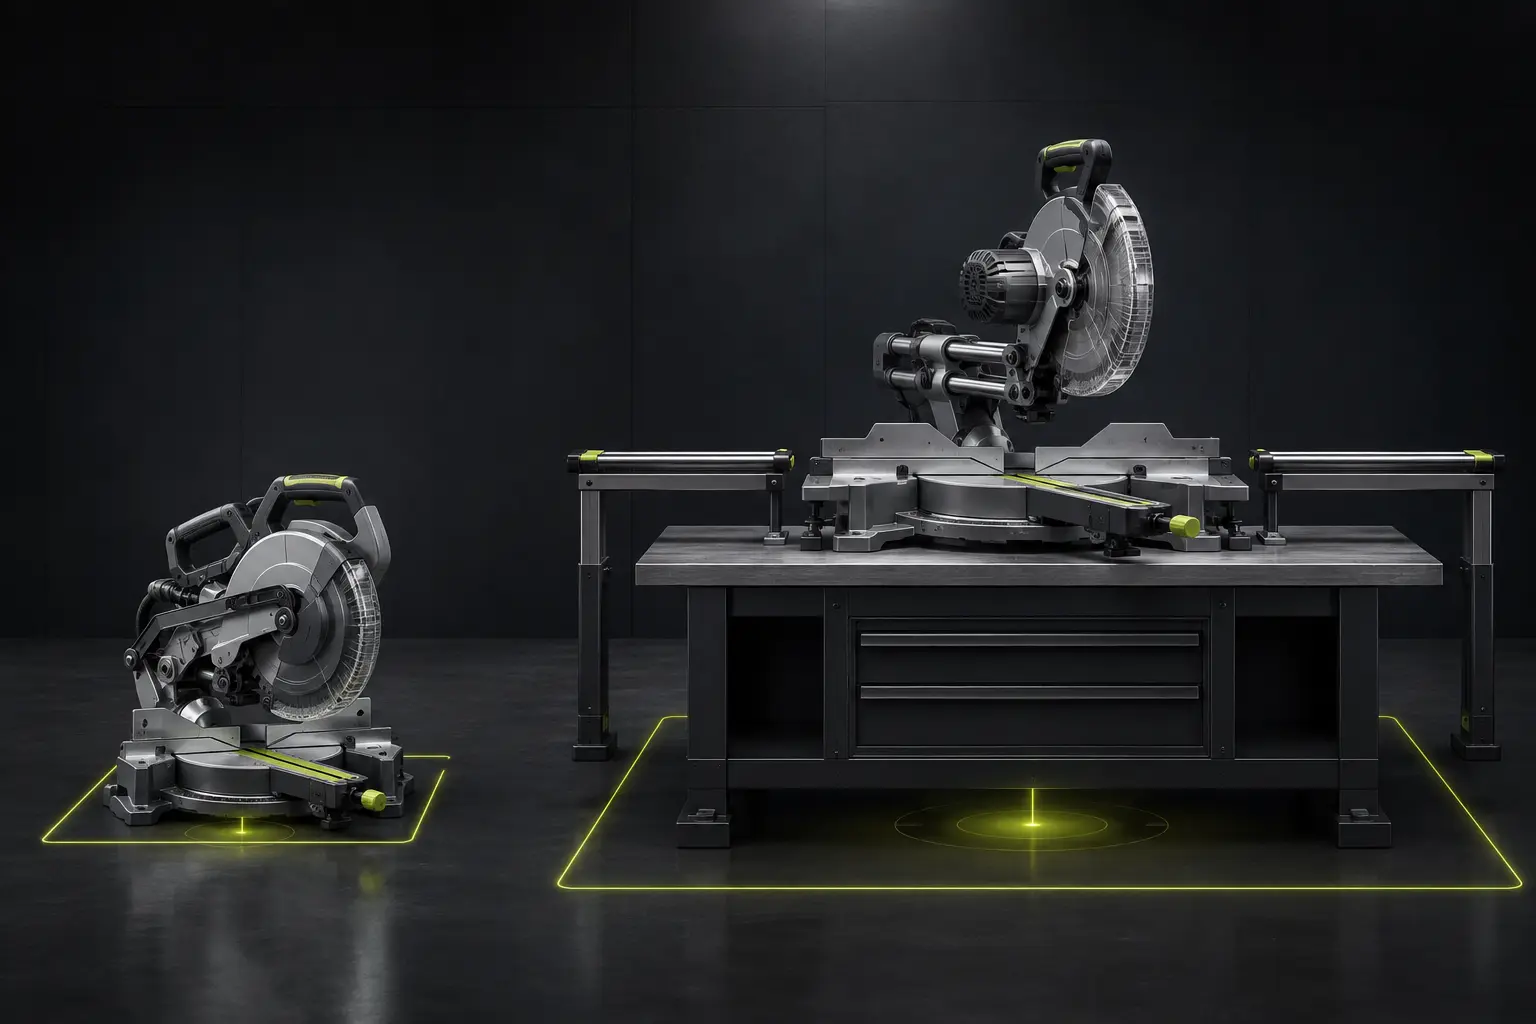
Mobile versus shop fit
The best stationary saw can be the wrong saw to carry upstairs every day.
Conceptual instructional graphic · verify the exact saw manual